
-56%


, Portable Angle Measurement Tools for Carpenters & Woodworking Hobbyists & DIYer")

- Shipping
- Reviews (8)
- More Products
8 reviews for 3D Multi Angle Measuring Ruler Aluminum Alloy Woodworking Square,Versatile Square Tool with Preset Angles from 22.5° to 90° Ideal Layout Tool for Carpentry, Engineering & DIY Projects
Add a review
-
✅ Building Materials Machines
TONZE Kids Tool Set with Apron, Wooden Toddler Tool Bench Box Montessori Toys for 2 3 4 Year Old Boys Girls, 39 PCS Educational Construction Toys Pretend Play Toddler Toys 3 4 5 Year Old Birthday Gift
Original price was: $26.00.$19.37Current price is: $19.37. -
✅ Metalworking Machines
Rivet Gun Adapter Kit,Professional Riveting Insert Nut Hand Tool Kit,2.4/3.2/4.0/4.8mm Diameter Rivet Head, Aluminum Housing, Fit for Cordless Drill,Sheet Metal Work
Original price was: $46.00.$25.99Current price is: $25.99. -
✅ Packaging Machines
Vandel Space-Saving Compression Packing Cubes for Women, Men, Compressible Carry On Suit Case Organizer Luggage Packing Cubes for Travel Organizer Bags for Luggage and Backpacks, Suitcase Cube
Original price was: $46.00.$24.99Current price is: $24.99.


 Aluminum Alloy Right Angle Clamp, Wood Working Tools, Positioning Squares for Frame, Box, Cabinets, Drawers.")


Related Products
 12 in Hand Lifting Jack Tool, Multifunctional Furniture Lifter Tool, cabinets Door Paneland Windows Lifting Jack ,Raised by 6.7 inches, Bearing 360LBS")
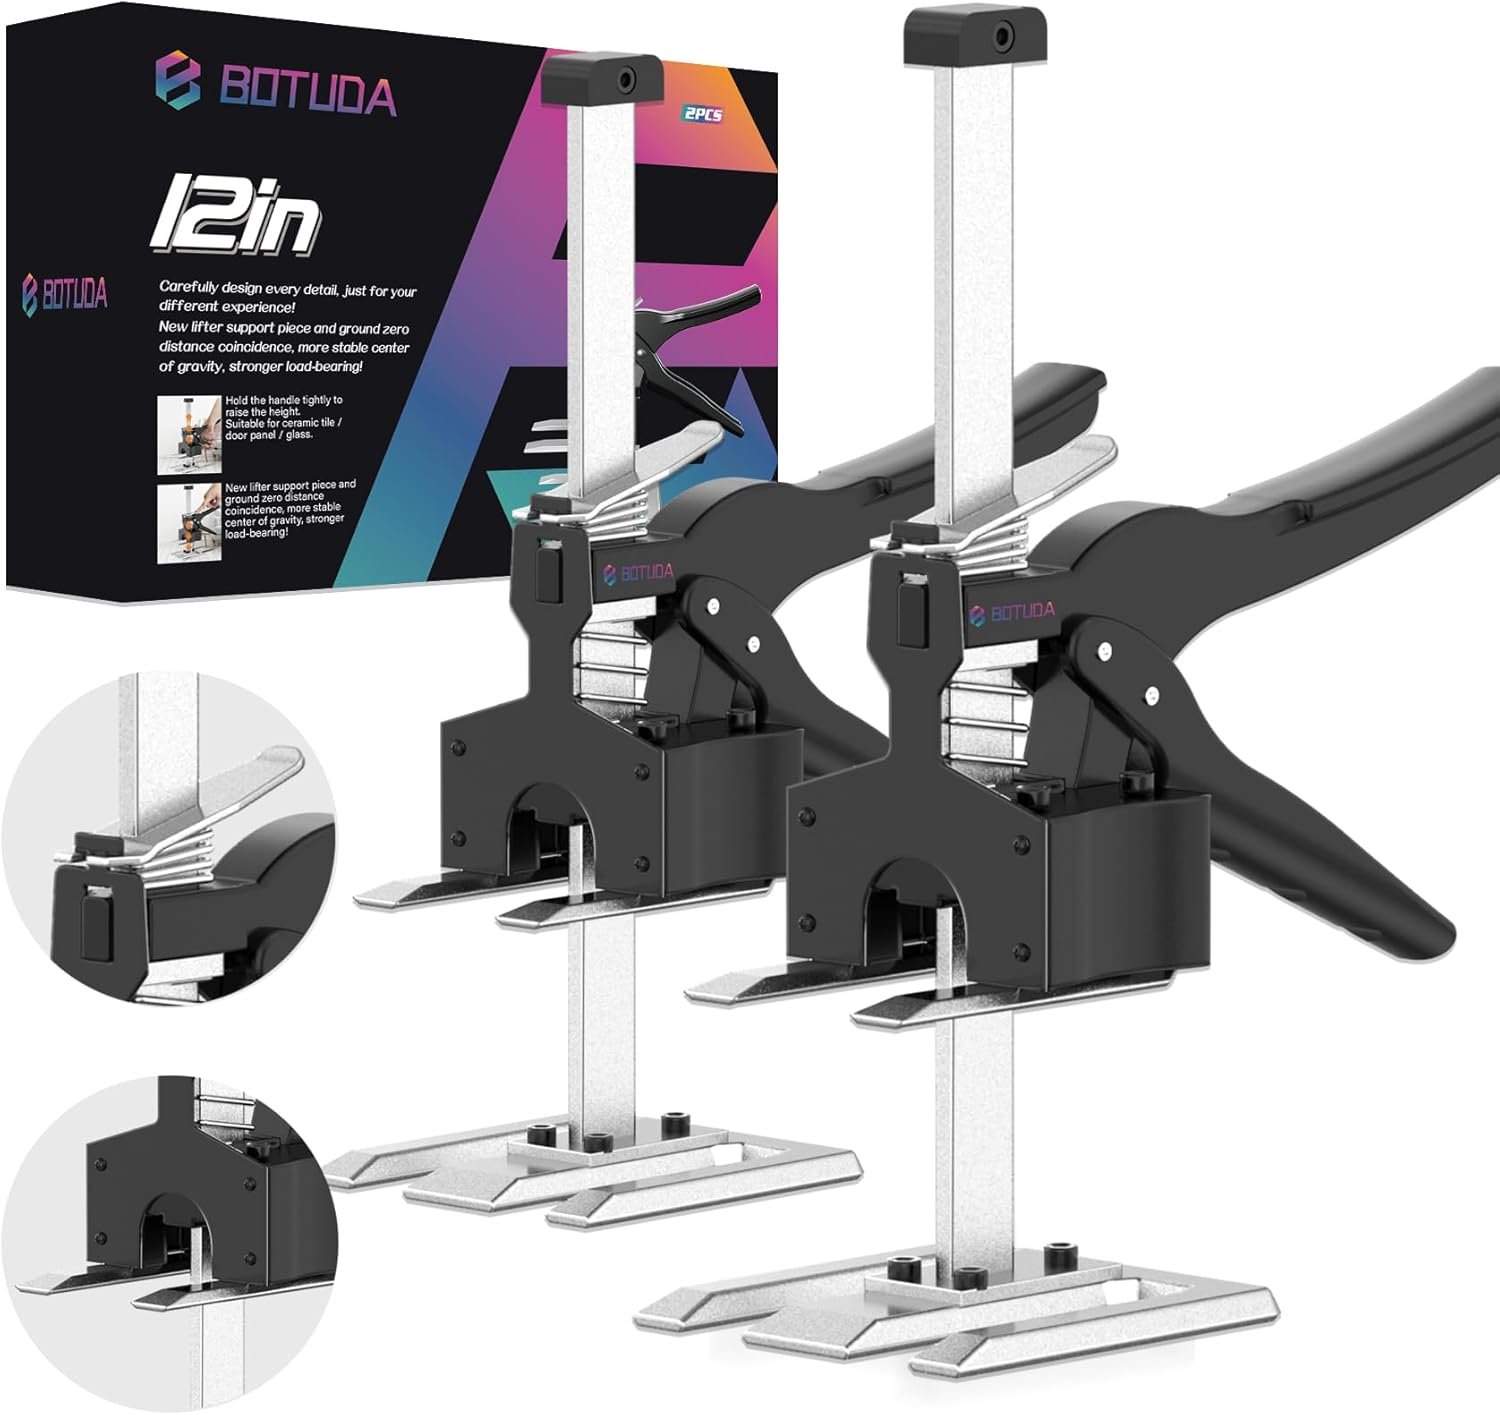
2025 New Labor Saving Handle(2Pack) 12 in Hand Lifting Jack Tool, Multifunctional Furniture Lifter Tool, cabinets Door Paneland Windows Lifting Jack ,Raised by 6.7 inches, Bearing 360LBS
Original price was: $56.99.$49.44Current price is: $49.44.
")
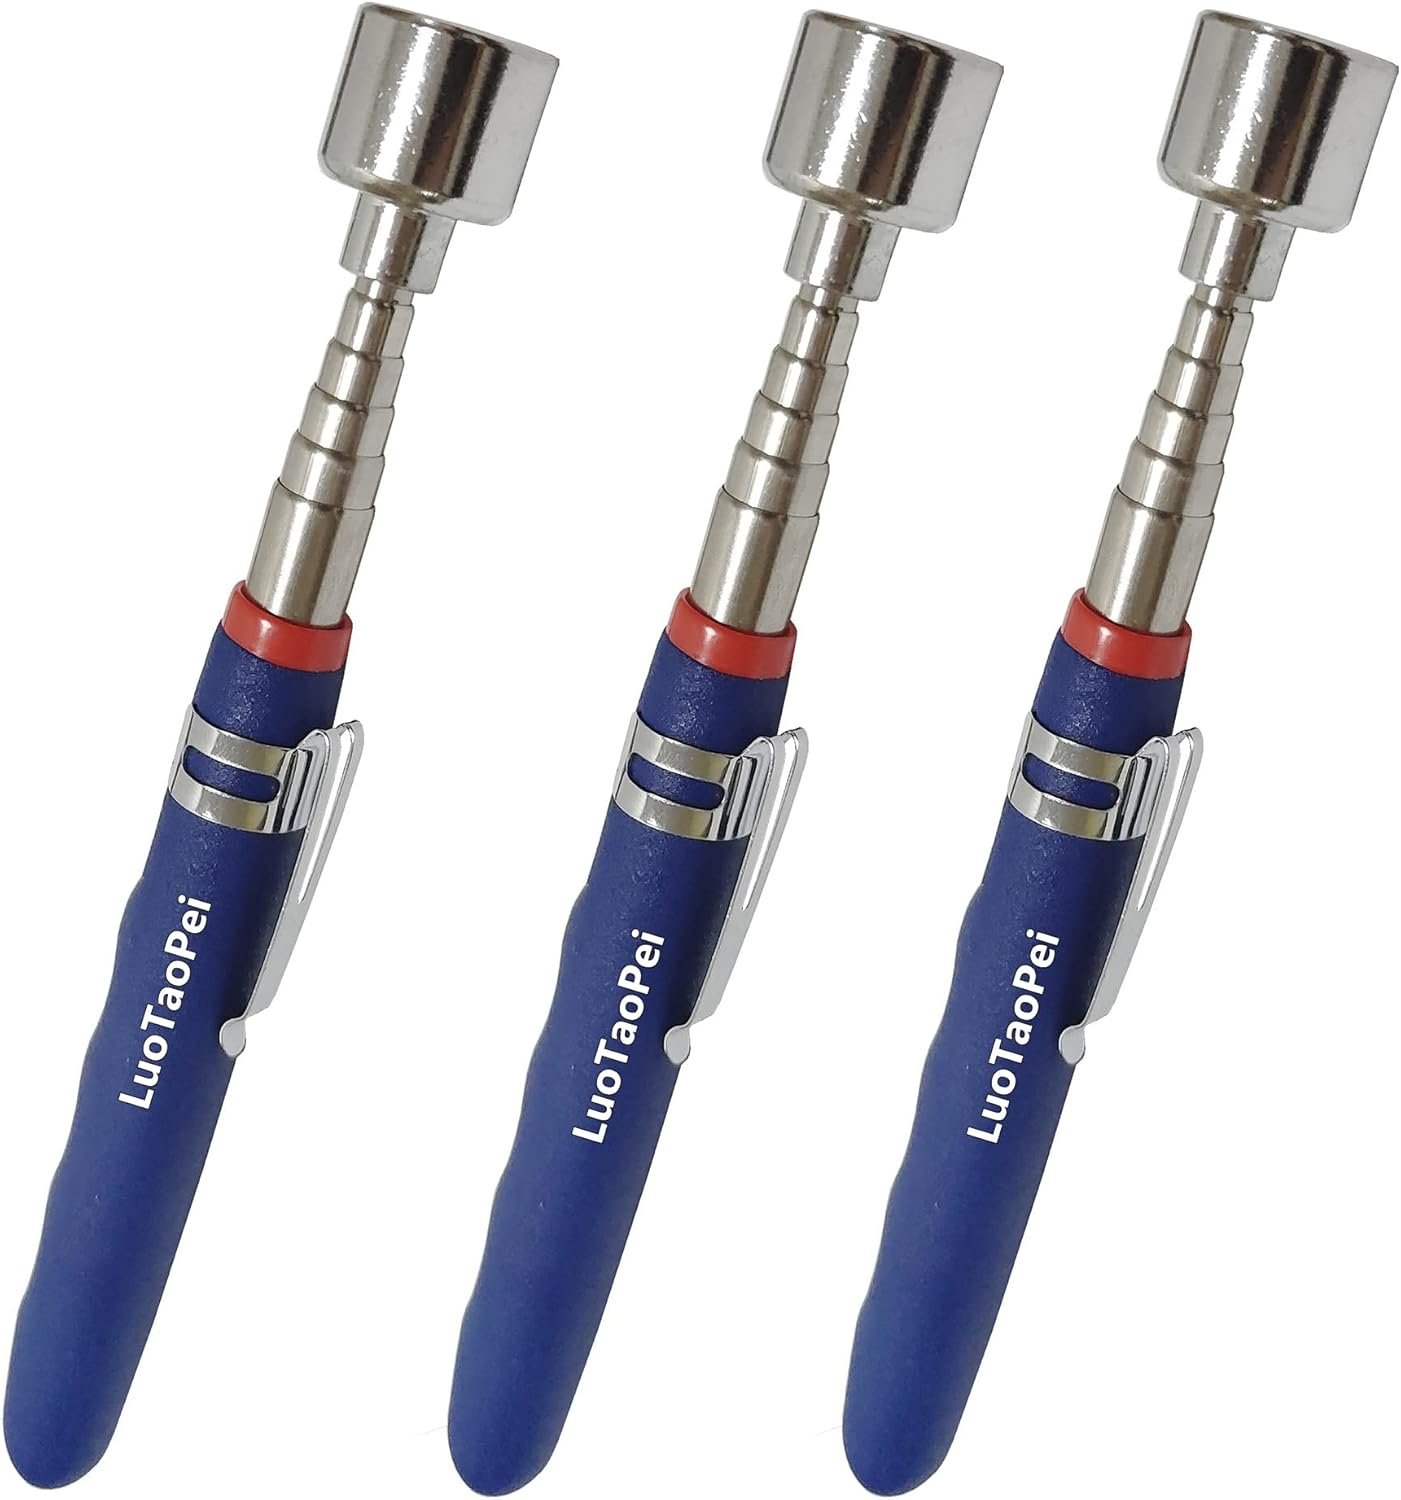
20lb.Telescoping Magnet Stick,Magnetic Pickup Tool, Gadget for Men Tool Telescoping Magnet Stick,Gifts for Men for Auto Repairer Carpentry etc.Extend up to 30". Small Metal Extends Tools. (3PCS)
Original price was: $16.99.$17.23Current price is: $17.23.
, Gifts Ideas for Men Dad Carpenter Handyman, Profile Tool for Tile Flooring, Carpet laying, Woodworking, Measuring Angle/Shape/Outline/Edge")
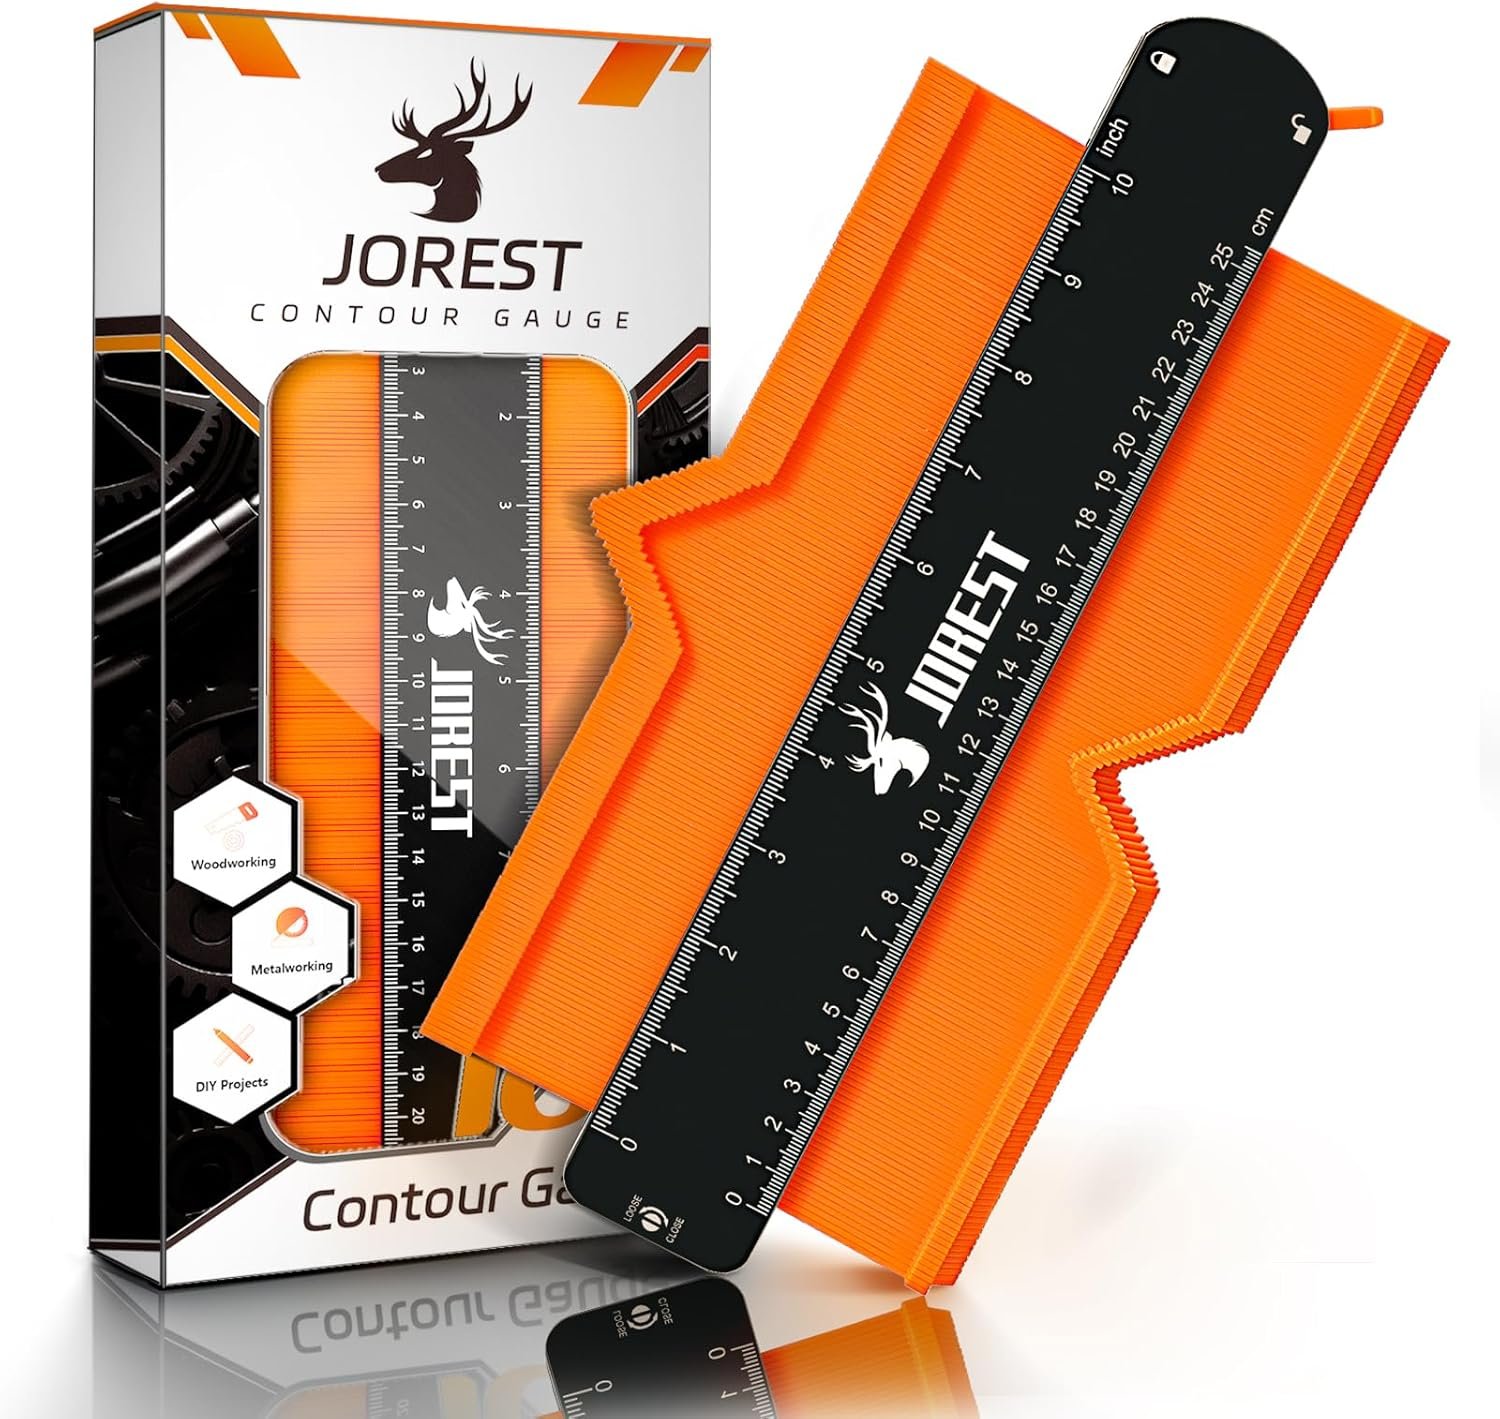
JOREST Contour Gauge with Lock (10 Inch), Gifts Ideas for Men Dad Carpenter Handyman, Profile Tool for Tile Flooring, Carpet laying, Woodworking, Measuring Angle/Shape/Outline/Edge
Original price was: $19.99.$14.94Current price is: $14.94.


Power Tool Organizer Wall Mount - 300Lbs Load 3 Layers Storage Rack with 7 Drill Holders for Drills Cordless Tools. Heavy Duty Iron Garage Tool Organizer Storage for Workshop Shed Pegboard Basement
Original price was: $49.99.$45.99Current price is: $45.99.
Dave –
Lightweight and durable
Very nice quality for the price. Great purchase.
Bolivar –
Muy buen accesorio
Muy útil
Gabriela romero –
Bueno
Bueno
Mwc –
I like
I like this little unit. No complaints.
Nancy Symonds –
Only regret you have could be your color choice. Love mine.
Works perfect for laying out lines around corners. May completely replace my trusty combination square. I just need to explain to my wife why the larger size is also a necessity.
John –
I use more that I thought I would
Didn’t think I would use it as much as I do. I still keep my old square but this has been so convenient when cutting 4x4s
Redfox –
Usable as is, useful with changes.
Out of the box, this measuring tool appeared well made, nicely finished, and protectively packaged. The many marking holes (46) are what mostly appealed to me, spaced at 1/16 inch intervals, along with the 90 and 45 degree angle marking faces. Also there if needed are 67.5, 60, 30 and 22.5 degree marking faces. The tool is marked in inches, but rather faintly. The marking holes are also marked in very small and faint numbers to my admittedly less than stellar vision. Perhaps black would have been a better color choice than white for the markings. The tool consists of two pieces, the main piece with angles and holes, and a guide rail, which also has inch markings on one edge. Both pieces are 1/4 inch thick aluminum, and are attached with two screws (wrench provided), which hold things together solidly. The guide rail extends 1/4 inch above the main piece of the tool, and 3/8 inch below.I found that it took a very sharp point on a pencil to fit through the very small holes, and that a sharp point broke or wore quickly. A fine point on a steel scribe might work for marking wood on furniture grade projects, dovetails, etc., but I wanted a more visible pencil line for my mostly casual woodworking projects.I wish that the inch markings wrapped around the 1/4 inch thick sides of the tool, particularly at the “bottom” of the tool, below the staggered marking holes. The 3D foot appeared interesting at first, but I found that, for my typical use, it mostly interfered when using the marking functions as it extends 2-3/8 inches below the work surface. Hmmm…to modify or not to modify: modify!After disassembling the tool, I used a 5/64 inch drill bit to open up all 46 holes for easier use with pencils. I think the original holes were smaller than 1/16 inch diameter. I also removed the 2 inch foot extension with a hacksaw, leaving a bit of extra material on the guide rail that was then filed down to be in line with the guide rail’s edge. I also squared up the hacksaw cut on the cutoff piece, giving me a 1/4 x 1 x 2 inch mini square.I used a drill press for opening up the holes. The existing holes acted like pilot holes in aligning the bit, and the aluminum cut easily. The fine burrs left on the back side were removed by putting the 5/64 inch bit into a handheld drill and drilled again from the backside with a slight oscillating motion, a very mild form of “wallowing out.” Where the holes are located, the material is pretty thin, so the drilling was quick and easy (times 46).Removing the leg or foot section was pretty straight forward, but it took several minutes of careful filing to get things squared and in line. However, my fussing with square and in line is not really necessary get the benefits of removing the foot. A simple hacksaw cut and quick smoothing of rough edges with a file will do. This might be more work than you care to do, but for my typical use, I now find the tool much easier to use.
Eric –
Very Handy
This is a great little tool for smaller, more detailed work. Measurements amd angles are accurate. It’s small and easy to handle. This is my go-to square for all smaller projects. I’m fairly new to woodworking and epoxy resin projects and this tool has helped a lot since I’ve had it. Recommend.